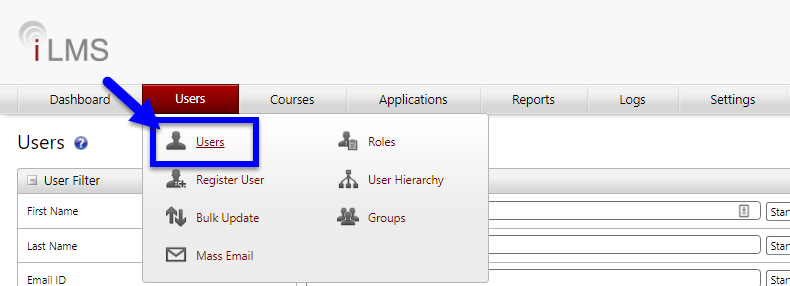
The find users page provides powerful features, giving you a single point of administration for a wide range of tasks. From this page, you can create highly specific course lists and then apply actions to those lists, such as managing user profiles, course enrollments, languages, and status both individually and in bulk.
Search Features
If you are looking for a specific user you can use the search features on the left-hand side of the screen to search by first name, last name, email ID, employee ID (This field can be renamed if needed. Instructions here: iLMS Fields and Unique Identifier).
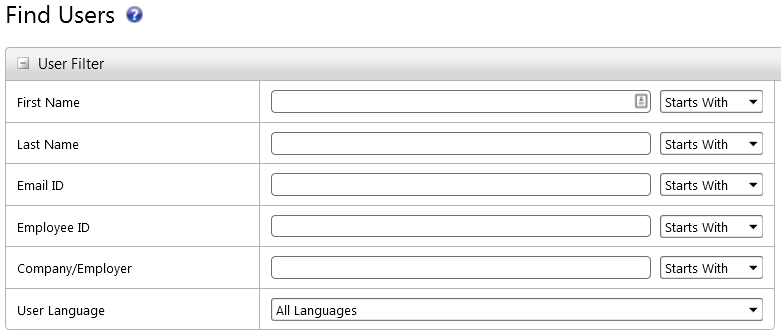
By default, the search is set to "Starts With", meaning if you search for Jan in the first name field you will find all users with those first 3 characters in their first name, such as Jan, and Janet.
To find all users with a "j" anywhere in their first name switch the dropdown next to the field from "Starts With" to "Contains".
Filtering Features
You can also see a filtered list of users based on region, division, department, and language.
Simply use the drop-down menus to filter the list.
You do not have to put anything in the search fields if you are just attempting to filter the user list.
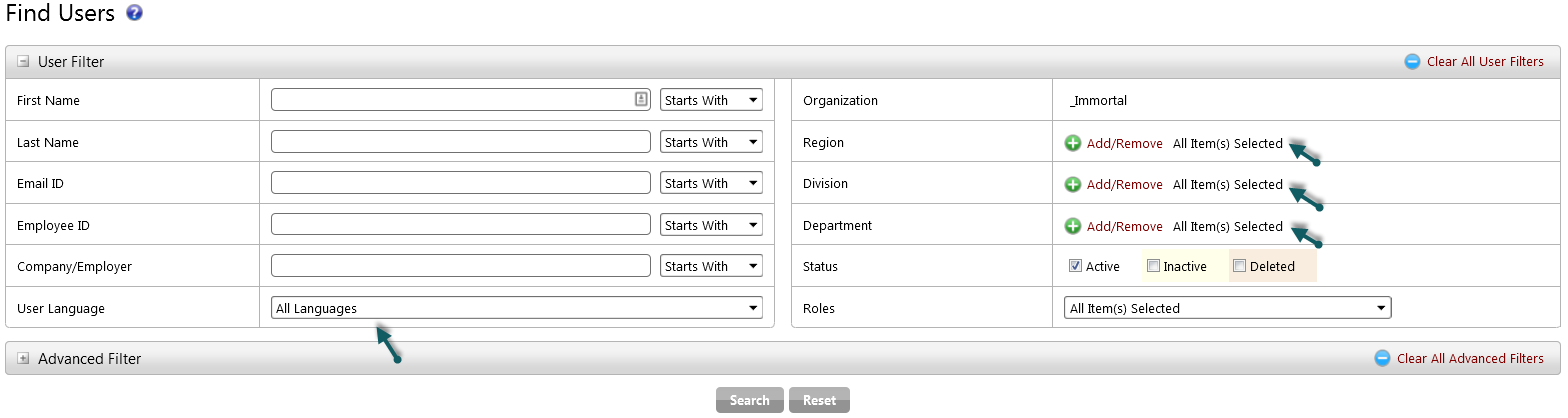
For example, if you are only trying to see all users in a region, simply select that region from the drop-down menu. You can also choose which users to display in the list by using the status and role check boxes.
By default, only active users are shown on this list. Inactive and Deleted users can be included by checking those options for "Status".
Course Filter
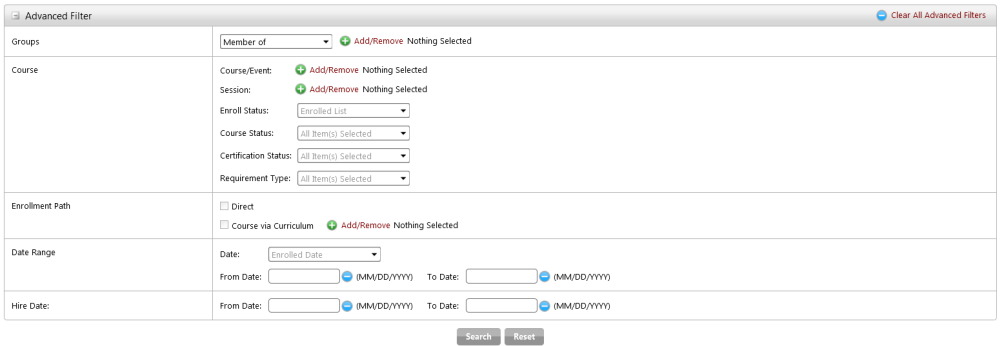
The course filter allows you to further specify who you would like to appear on the list.
Note that you can only choose a course status if you select a course and choose the Enrolled List drop-down, indicating that you want to view all users enrolled in that course. Once you are looking at enrolled users you can further filter the list by date.
Exporting a Report
Once filters have been applied and the desired list of users has been produced, the report can be exported to an excel CSV by clicking the just above the list to the upper-right.

This will produce a report containing all user information that was listed on the page, as well as adding any transcript information for courses and criteria added to the advanced filter.
Options and Commands
The actions below can be applied to one or more users by using the check boxes next to each username. Be careful and note that there is an All and All Pages option. Selecting All Pages will apply the action to all users found based on the search criteria.
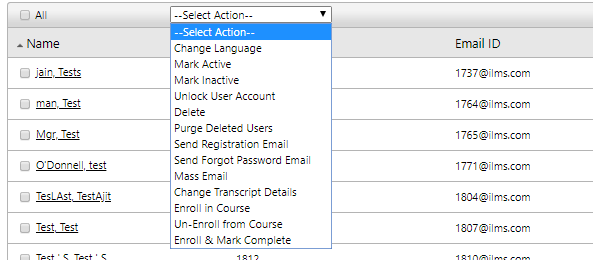
- Change Language
This changes the default language for the selected users. By default, users will log in with the language selected. A good use of this feature is to set the default language for a region. You can also simply direct all users to the default login page with the default language. On that landing page, users will be able to change the language. They can also change the language in their profile unless the organization admin disallows this option. - Mark Active
Marks inactive users active. Only active users appear on lists and reports by default. To use this feature you must first search for active users. - Mark Inactive
Marks active users inactive. This should be done when an employee leaves your organization. The employees transcript records will be kept until you delete and purge the user account. To use this feature you must first search for active users, which is the default search type. - Delete
Marks a user as deleted. There is no undo for this action. The employees transcript records will be kept until you purge the user account. - Purge Deleted Users
This will clear the cache of deleted users. After purging deleted users, there are no longer recovery options. - Send Registration Email
This sends the default registration email to the user. It is a great way to quickly resend a registration email to users who say they did not receive their registration email or lost or deleted it. - Mass Email
This brings up a template that allows you to send a mass e-mail to all users selected. Additionally, you can select from Default or Customized e-mail templates. - Send Forgot Password Email
This will allow you to send the forgot password email to all selected users. - Change Transcript Details
Allows you to modify course transcript details such as Enroll Date, Start Date, Due Date, Completion Date, Score, and Status to one or more users.
Note:a course/event must be commonly searched between the users to change transcript details. - Enroll in Course
Allows you to enroll one or more users into a course. - Un-Enroll from Course
Allows you to un-enroll one or more users from a course. - Enroll Mark Complete
Allows you to enroll one or more users into a course and change the transcript status to Complete for the course. Please note that all of the activities outlined in this help file are logged to ensure the integrity of the course completion data.
